How to Plan a Gaming Room Layout Before You Buy Anything
A step-by-step approach to planning a gaming room or corner from scratch, covering space measurement, zoning, power, and traffic flow.
A step-by-step approach to planning a gaming room or corner from scratch, covering space measurement, zoning, power, and traffic flow.
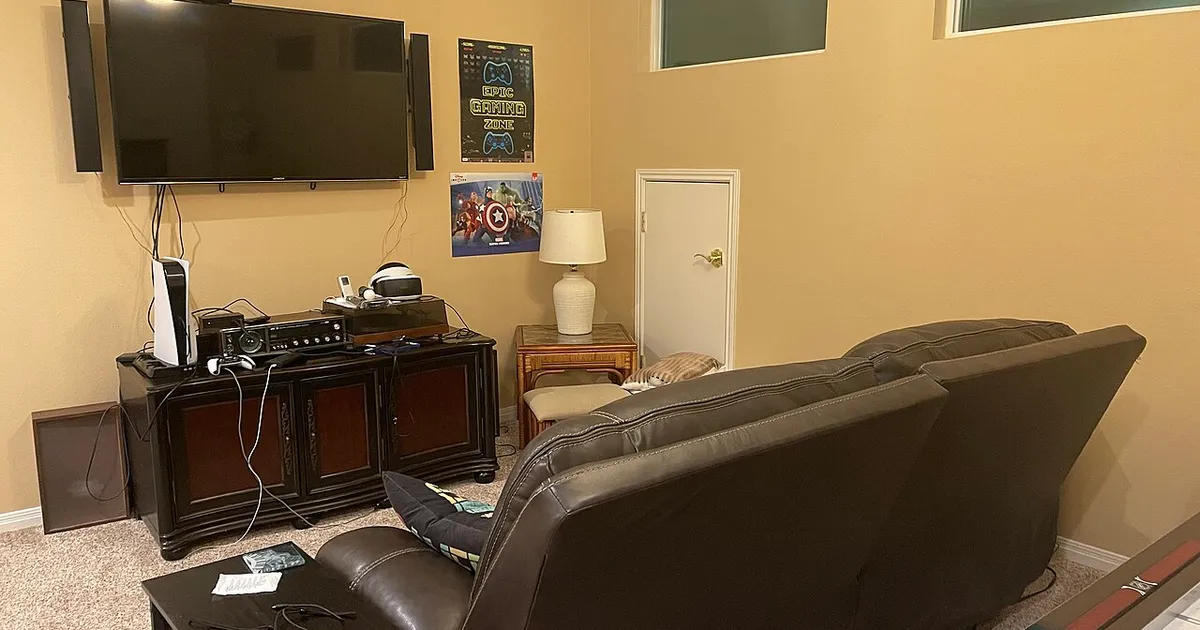
Photo by VPaleontologist / Wikimedia Commons / CC BY-SA 4.0
It’s easy to jump straight to picking out a desk or a monitor when planning a gaming room, but the layout decisions that matter most usually come before any specific product choice. Planning the space itself first prevents a lot of rework later.
Step One: Measure the Actual Space
Start with hard numbers, not impressions. Measure wall lengths, ceiling height, door swing, and the location of windows and outlets. Note where existing furniture, vents, or fixed features (like a radiator or built-in shelving) constrain your options. It’s tempting to skip this and “eyeball it,” but most layout regrets trace back to skipping precise measurement early on.
Step Two: Identify Fixed Constraints
Some things in a room can’t move: outlet locations, window placement, door swing, and structural features. List these out before you think about furniture placement, since they’ll narrow your options significantly and it’s better to know that upfront than after ordering a desk that doesn’t fit where you wanted it.
Step Three: Think in Zones, Not Just Furniture
Rather than placing individual items, think about functional zones:
- Primary play zone — where your main desk, chair, and displays will live. This usually deserves the best wall for cable access and the least foot traffic behind you.
- Storage zone — where controllers, cases, games, or spare parts get kept, ideally out of the primary sightline but still reachable.
- Secondary or console zone, if applicable — a couch or secondary seating area for console gaming, streaming, or having others in the room.
- Cable and power zone — decide early where cables will run and whether you need a power strip, surge protector, or extension routed along a wall rather than across open floor.
Step Four: Consider Traffic Flow and Sightlines
Think about how people (including you) will move through the room day to day. A desk placed directly in a walking path will get bumped constantly. A monitor facing a bright window will suffer glare for much of the day. Walk through the room mentally — or physically, using tape on the floor to mark proposed furniture edges — before committing to a layout.
Step Five: Plan for Cable and Power Access
Cable routing is far easier to plan than to retrofit. Decide where your PC tower, monitor cables, and any additional peripherals will need power and data access, and make sure your planned desk position keeps those runs short and manageable. If you’ll need an extension cord or additional outlet, sort that out before furniture is in its final position.
Step Six: Leave Room to Adjust
Even a well-measured plan benefits from some flexibility. Avoid mounting anything permanently or committing to a single furniture arrangement until you’ve spent a little time in the space with a rough setup. Small adjustments — moving a desk six inches, angling a monitor differently — are common even after careful planning, and that’s normal rather than a sign of planning failure.
Putting It Together
A gaming room layout doesn’t need elaborate software or professional design tools to plan well. A tape measure, a rough sketch, and a clear sense of your fixed constraints will get you most of the way there. The goal isn’t a perfect first attempt — it’s avoiding the layout mistakes that are expensive or annoying to undo once furniture is in place.