How to Set Up a Racing Wheel: Mounting, Pedals, and Basic Tuning
A practical setup guide covering wheel mounting options, pedal placement, and basic force feedback tuning for a more stable, realistic sim racing feel.
A practical setup guide covering wheel mounting options, pedal placement, and basic force feedback tuning for a more stable, realistic sim racing feel.
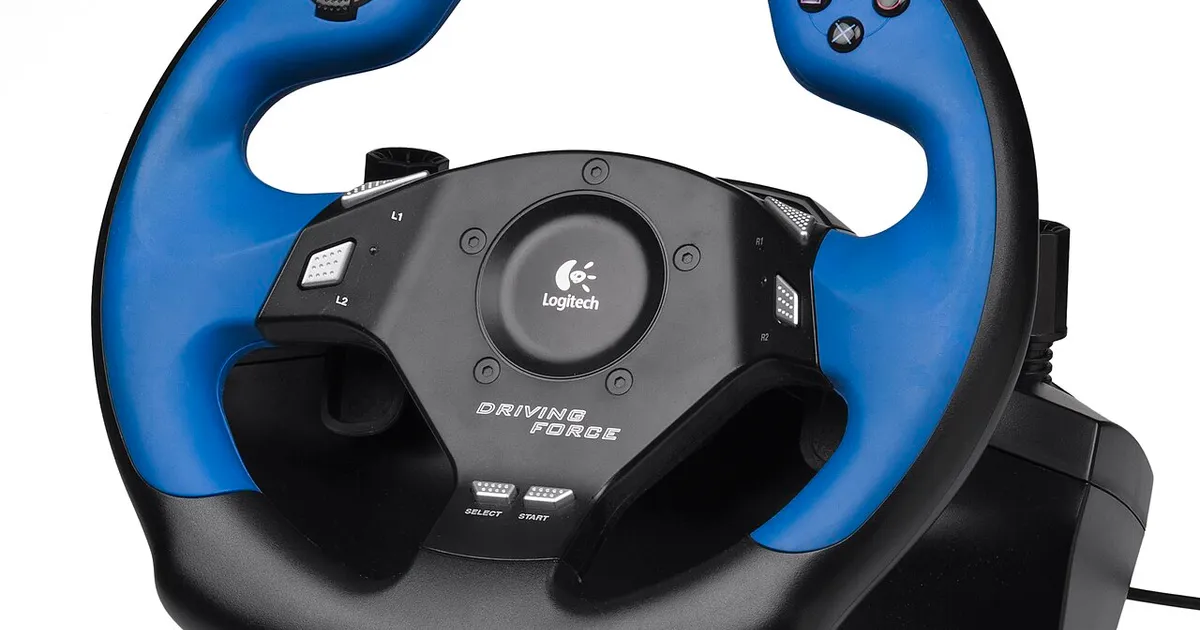
Photo by Evan-Amos / Wikimedia Commons / Public domain
A racing wheel that isn’t mounted securely undercuts everything the hardware is designed to do — force feedback becomes mushy or inconsistent, and pedal input becomes unreliable if the whole rig shifts under braking pressure. Getting the physical setup right matters as much as the wheel itself.
Mounting options
- Desk clamps attach the wheel base directly to the edge of a desk or table. This is the cheapest and most common entry-level option, but it depends heavily on the desk’s rigidity — a lightweight or wobbly desk will flex under strong force feedback or braking force, undermining the whole setup.
- Wheel stands are dedicated frames built specifically to hold a wheel base and pedals rigidly, independent of any desk. They’re a worthwhile upgrade once you notice desk flex, and they also let you position pedals and wheel at a consistent, ergonomic distance regardless of your desk’s dimensions.
- Cockpit rigs go further, integrating a seat, wheel mount, and pedal mount into a single rigid frame, closely mimicking a real driving position. These make the most sense for dedicated sim racing setups where realism and consistent seating position matter most.
Whichever option you use, check that it’s rated for your specific wheel’s torque output — a mount designed for lower-torque gear-driven wheels may not adequately handle a high-torque direct drive unit without flexing or loosening over time.
Pedal placement and spacing
Pedal position affects both comfort and control precision. Aim for a natural, slightly bent knee angle when pedals are pressed, avoiding a fully extended leg, which reduces fine control over brake pressure. Spacing between pedals should allow smooth movement between throttle and brake without your foot catching the edge of an adjacent pedal — this varies by shoe size and personal preference, so adjust based on actual use rather than a fixed rule.
If your pedal set includes a clutch, decide early whether you’ll actually use manual/clutch shifting; if not, consider spacing the two active pedals (throttle and brake) more generously rather than keeping a rarely-used clutch pedal crowding the layout.
Wheel height and rotation range
Set wheel height so your arms rest at a comfortable, slightly bent angle at the wheel’s center position — too high or too low forces awkward shoulder or wrist angles over long sessions. Many wheels also let you adjust rotation range (how many degrees of physical rotation correspond to full lock in-game). Matching this to the specific vehicle/game you’re playing — many racing games and vehicle types have different realistic steering ratios — improves both realism and precision; an overly wide default rotation range can make small corrections feel imprecise.
Basic force feedback tuning
Most racing wheel software or in-game settings include a handful of adjustable force feedback parameters:
- Overall strength — the global intensity of force feedback. Too high can feel harsh, fatiguing, or even mask fine detail by overwhelming subtler cues; too low can make the wheel feel numb and disconnected from what’s happening on track.
- Smoothing/filtering — reduces very fast, high-frequency force changes, which can help on lower-quality connections or for players sensitive to notchy feedback, but excessive smoothing can dull genuinely useful detail.
- Minimum force — ensures very light forces are still perceptible rather than lost below the wheel’s mechanical threshold, useful for feeling subtle grip loss cues that might otherwise be too weak to register.
Start with default or recommended settings for your specific wheel and adjust one parameter at a time, testing enough to actually notice the difference before changing the next — tuning too many settings simultaneously makes it hard to tell what’s actually helping.
A basic setup checklist
- Mount the wheel base securely, matched to its torque rating.
- Position pedals for a natural leg angle and comfortable reach.
- Set wheel height for a relaxed arm position.
- Match rotation range to your primary game/vehicle type.
- Tune force feedback strength and smoothing gradually, testing changes individually.
A well-mounted mid-range wheel with careful setup will outperform a premium wheel bolted loosely to a shaky desk. Get the physical fundamentals right before spending more on the hardware itself.