How to Properly Install and Maintain a CPU Cooler
Most cooler-related temperature problems trace back to installation, not the hardware itself. Here is how to get thermal paste, mounting, and upkeep right.
Most cooler-related temperature problems trace back to installation, not the hardware itself. Here is how to get thermal paste, mounting, and upkeep right.
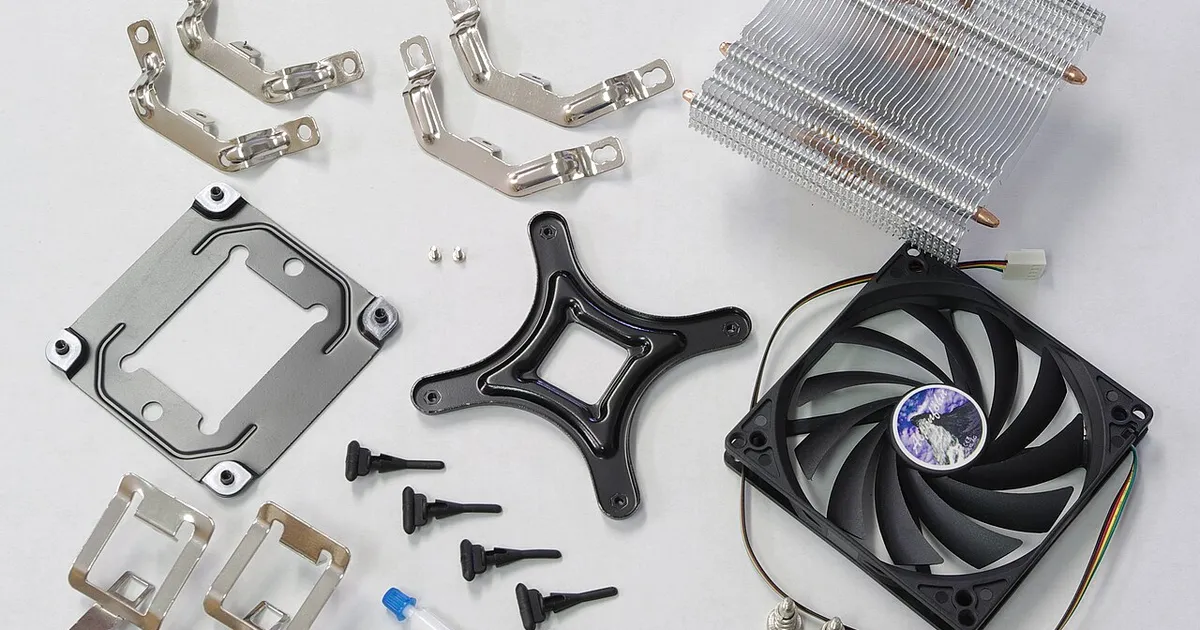
Photo by smial (talk) / Wikimedia Commons / FAL
A perfectly good CPU cooler can still deliver disappointing temperatures if it’s installed incorrectly. Most cooler-related heat problems people run into aren’t a hardware defect — they’re an installation mistake, and nearly all of them are avoidable once you know what to check.
Thermal paste application
Thermal paste fills the microscopic gaps between the CPU’s surface and the cooler’s contact plate, since neither surface is perfectly smooth at a microscopic level, and air is a poor conductor of heat compared to paste. Many coolers now ship with paste pre-applied to the contact plate, which is fine to use as-is and skips this step entirely. If applying it yourself, a small amount — commonly recommended as roughly a pea-sized dot in the center of the CPU — spreads out under the pressure of mounting the cooler and is enough to fill the gap; more paste than that doesn’t improve cooling and can actually make a mess or, in poor cases, create air pockets if spread unevenly by hand beforehand. Let the mounting pressure spread it rather than manually spreading a thick layer yourself.
Mounting pressure and orientation
Even, firm contact between the cooler and CPU matters more than most people expect. Most coolers use a specific tightening pattern — often diagonal or alternating, similar to tightening lug nuts on a wheel — to apply even pressure across the contact surface rather than tilting the cooler down unevenly on one side. Follow the manufacturer’s specific mounting instructions for your socket type, since mounting hardware and recommended torque or tightening sequence vary between coolers and CPU sockets. For liquid coolers, also check the pump orientation — some pump designs have a recommended mounting orientation relative to gravity for optimal, quiet, long-term operation, detailed in the cooler’s manual.
Common installation mistakes
- Forgetting to remove the plastic protective film from a pre-applied thermal paste pad or contact plate before mounting — an easy miss that fully blocks heat transfer.
- Uneven mounting pressure, often from tightening one screw fully before moving to the next rather than tightening evenly in stages across all mounting points.
- Cooler orientation blocking other components, particularly with large air coolers near tall RAM or motherboard heatsinks — check clearance before final mounting, not after.
- Radiator or fan airflow direction mismatched with the rest of the case’s airflow, effectively fighting against your case fans rather than working with them, which can meaningfully hurt overall cooling performance even with a good cooler.
- Not fully seating power connectors for cooler fans or pumps, which can leave a cooler partially or fully non-functional despite looking installed correctly.
Ongoing maintenance
CPU coolers aren’t entirely maintenance-free once installed. Dust accumulates on heatsink fins and radiator surfaces over months of use, gradually restricting airflow and reducing cooling efficiency — periodic cleaning, particularly of fan blades and heatsink fins where dust is most visible, helps maintain performance over the system’s life. Thermal paste also degrades slowly over a period of years, and some enthusiasts choose to reapply it during a cooler removal for other maintenance, though this isn’t something that needs regular independent attention for most builds. If you’re reseating a cooler for any reason — a motherboard swap, a case change, or just general maintenance — it’s good practice to clean off old paste and reapply fresh paste rather than reusing what’s already there, since removing a cooler disturbs the original even spread.
The payoff of getting it right
A correctly installed cooler with proper paste application and mounting pressure will typically deliver close to its rated performance; a poorly installed one — even an expensive, high-performance model — can underperform a cheaper cooler installed correctly. Taking the extra few minutes to follow manufacturer instructions carefully during installation is one of the highest-value, lowest-cost things you can do in a build.