Mechanical Keyboard Switch Types Explained: Linear, Tactile, and Clicky
A plain-language breakdown of how mechanical switches work and how to pick between linear, tactile, and clicky types for gaming and typing.
A plain-language breakdown of how mechanical switches work and how to pick between linear, tactile, and clicky types for gaming and typing.
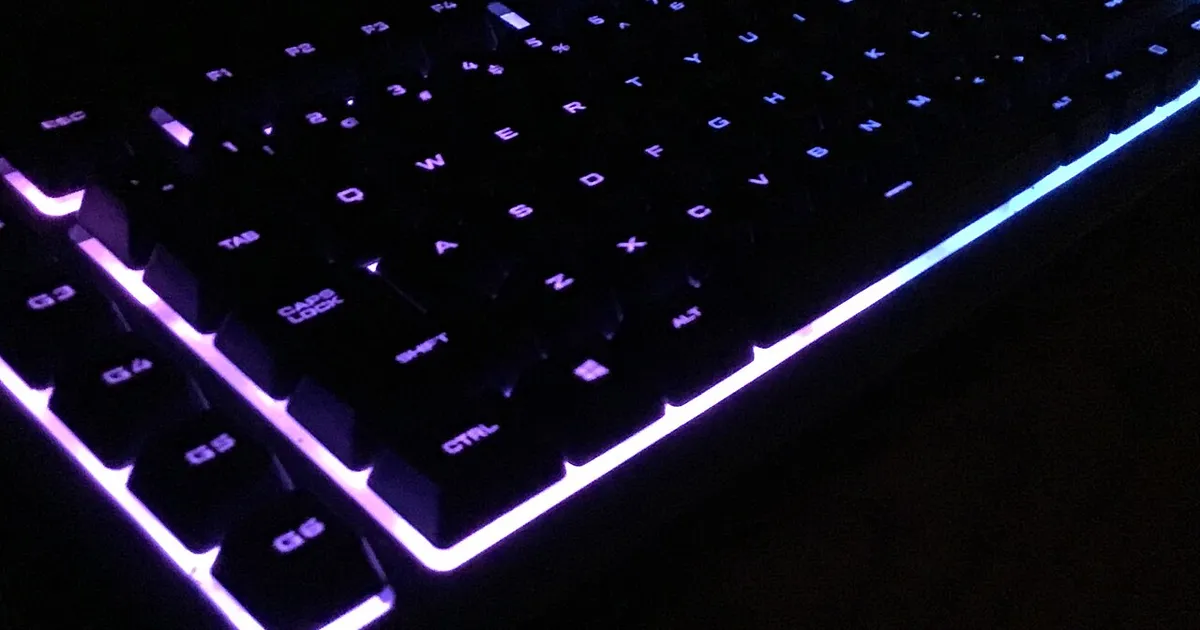
Photo by SolarMainframe / Wikimedia Commons / CC BY-SA 4.0
Walk into any conversation about gaming keyboards and you’ll hear switch names thrown around like they’re self-explanatory. They’re not, unless someone has already explained the basics to you. Here’s what actually happens under each keycap, and how that translates into what you feel when you type or press an ability key mid-fight.
How a mechanical switch actually works
Every mechanical switch is a small spring-loaded mechanism housed under the keycap. Pressing the key pushes a stem down inside a housing, which eventually pushes a metal contact closed and registers the keystroke. The differences between switch types come down to what happens to your finger on the way down — smooth resistance, a bump, or a bump plus an audible click.
Switches are usually categorized by color, a convention borrowed from one of the original manufacturers, but color naming isn’t standardized across brands. Always check the actual specs (actuation force, travel distance, feedback type) rather than assuming a color means the same thing on every keyboard.
Linear switches: smooth and consistent
Linear switches move straight down with no bump and no click. The resistance is consistent from the top of the keystroke to the bottom. Many competitive gamers favor linear switches because there’s nothing interrupting a fast, repeated press — no tactile bump to work around when you’re mashing a key rapidly. The tradeoff is that linear switches give you less physical feedback about when a keypress has actually registered, which can lead to “bottoming out” (pressing the key all the way down) more often, adding fatigue over long sessions.
Tactile switches: a bump you can feel
Tactile switches have a noticeable bump partway through the keystroke, which tells your finger the key is about to actuate without needing to press all the way down. This makes tactile switches popular for typing-heavy work and general use, since you get feedback without noise. Many gamers who split time between gaming and typing/writing land on tactile switches as a middle ground.
Clicky switches: feedback plus sound
Clicky switches add an audible click to the tactile bump. They give the clearest feedback of the three types, but the sound is a real factor — great for solo setups, potentially annoying for roommates, shared spaces, or anyone using an open mic while gaming or streaming. If you’re in voice chat often, test a clicky board with your microphone before committing, since some mics pick up switch noise more than others.
Actuation force and travel distance matter too
Beyond the bump-or-no-bump question, pay attention to two numbers:
- Actuation force — how much pressure (measured in grams) is needed to register a keypress. Lighter switches actuate faster with less effort but can lead to accidental presses; heavier switches reduce misclicks but tire your fingers faster in long sessions.
- Actuation distance — how far you need to press before the key registers. Shorter actuation distances (sometimes adjustable on newer switches) can shave milliseconds off input response, which matters more in fast-paced competitive genres than in slower or narrative-driven games.
Hot-swappable boards let you experiment without buying new
If you’re not sure which switch type suits you, look at hot-swappable keyboards. These have sockets instead of soldered switches, letting you pull switches out and try different types with a simple tool — no soldering iron required. It’s a low-risk way to compare linear, tactile, and clicky switches on the same board before settling on a full set, and it also makes future repairs (a single dead switch) far cheaper than replacing the whole board.
Common mistakes to avoid
- Buying based on color name alone. Cross-reference the actual actuation force and feedback type, since naming isn’t consistent between manufacturers.
- Ignoring your environment. A clicky board that feels great solo can be a problem in a shared room or on a live mic.
- Assuming heavier always means “more premium.” Heavier springs aren’t inherently better — they’re a preference, and the wrong weight for your hand can cause fatigue.
- Skipping a wrist rest test. Switch feel changes depending on hand position; test with whatever wrist support setup you’ll actually use.
There’s no universally “best” switch — only the one that matches how hard you press, how much noise you can tolerate, and whether you value tactile confirmation over raw speed. If possible, try a switch tester or a friend’s board before buying, since written descriptions only get you so far.